
Decorative Leaf
Materials + Supplies:
• Fresh Leaf
• Pile of Sand
• Painter's Plastic
Tools:
• Diamond Hand Sanding Pad / Sandpaper
• Nylon Brush
Size: 14" x 14" x 3" high
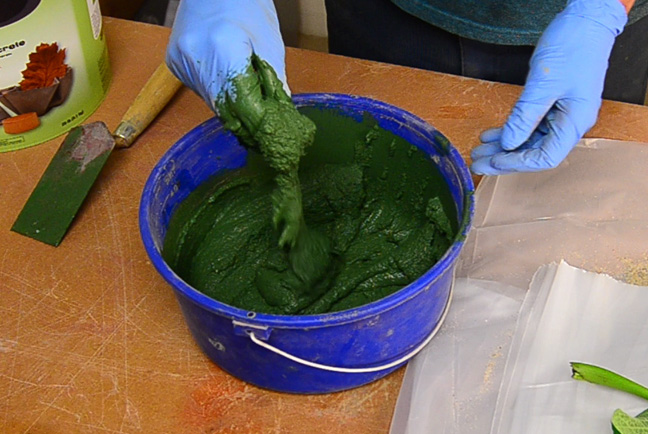
Color: Evergreen SmartColor Pigment
Technique: Hand-Packed
Decorative Leaf
Video Instructions:

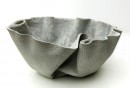
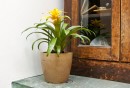
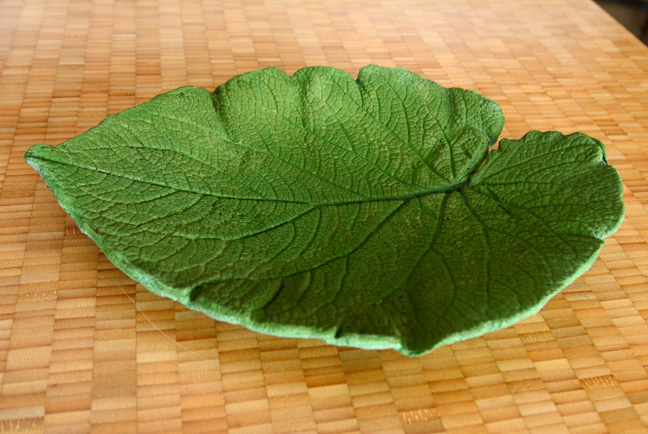
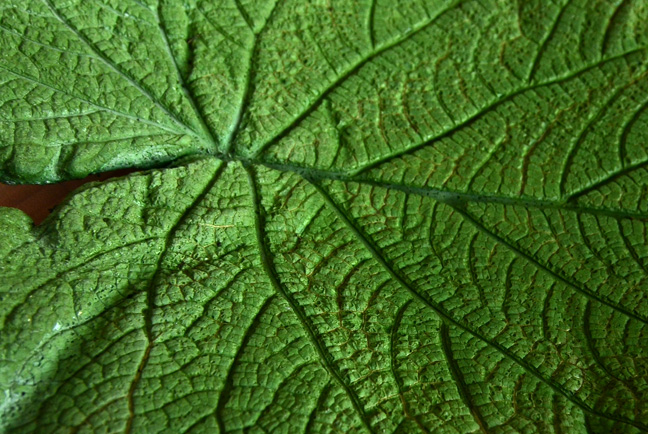
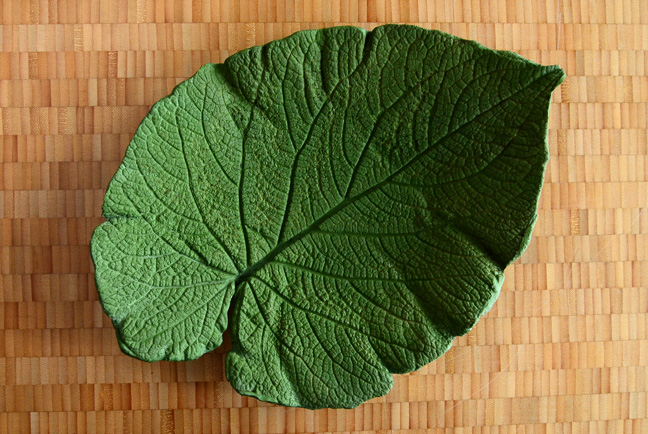
ShapeCrete can be packed onto a fresh leaf and will pick up the finest details. The piece can be a garden ornament, a fruit bowl, part of a water feature, or anything else you can imagine.
STEP 1: Sand Mound
Build up a mound of sand on a piece of cardboard or a sheet of plastic. The mound of sand will give the leaf its domed shape. The cardboard will help contain the sand and minimize the mess.
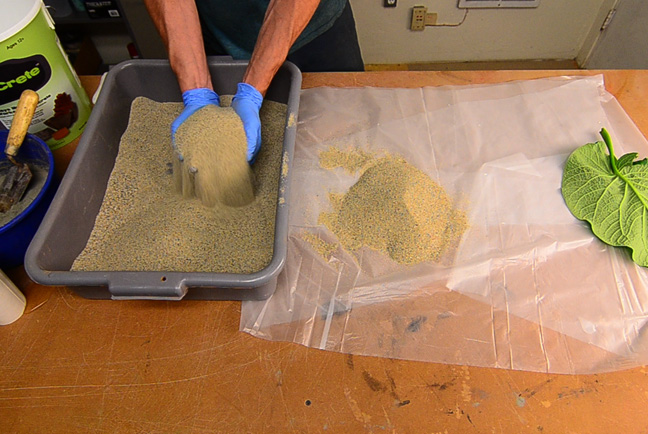
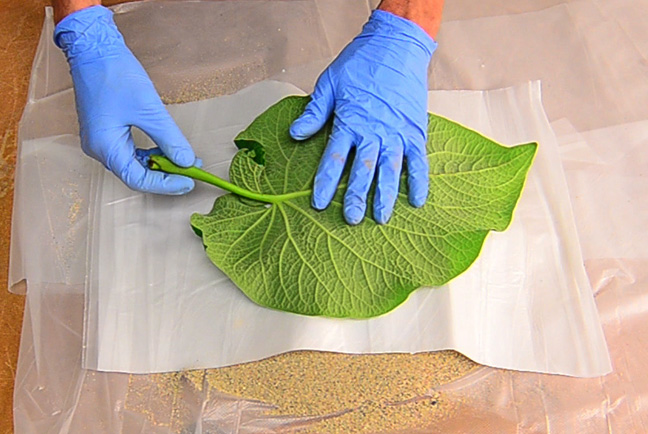
- Cover the sand mound with a plastic bag or painter's plastic. This will keep the leaf separate from the sand.
- Lay the leaf on the mound with the vein-side up. This is usually the back side of the leaf. Packing the mix onto this side will give the best detail and the deepest impression.
Fresh vs. Dry Leaves: Fresh leaves are best. Dry leaves will suck water from the mix, resulting in a chalkier finish. A fresh leave won't do this, and will be easier to remove.
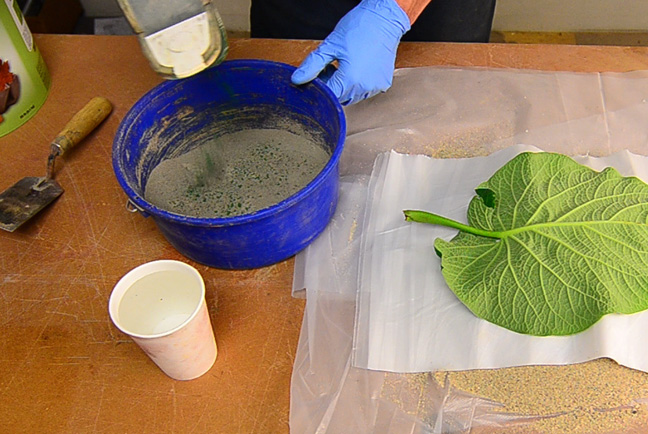
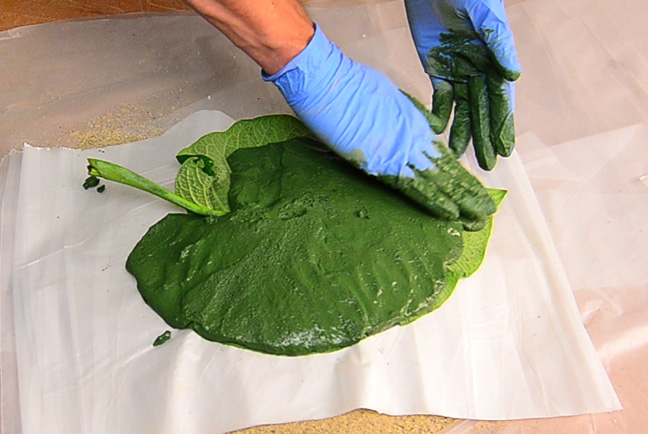
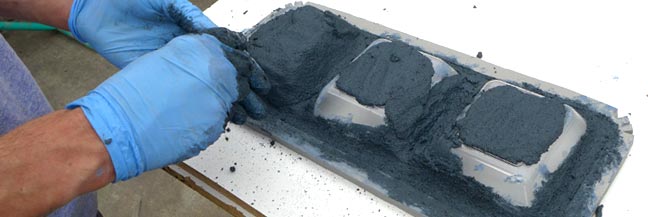
STEP 2: Mix and Pack
Mix ShapeCrete to a Clay-Like Consistency and begin packing it on the leaf, starting in the middle and working outward.
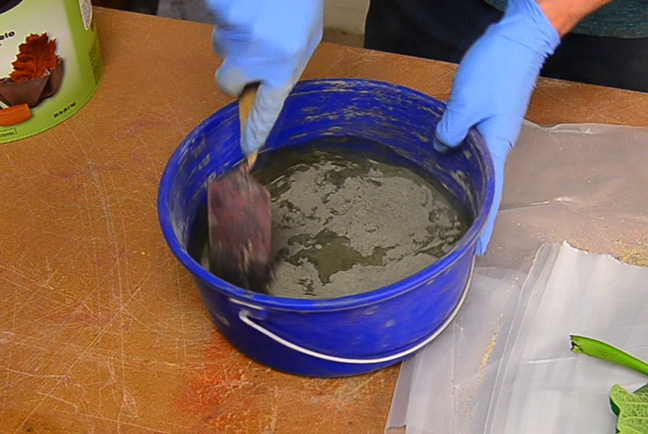
Work swiftly and add a little bit of water to the mix if it starts to dry out. This will help you get a consistent finish. Build up the mix to about 3/8" thick. Down the center of the leaf, build up a spine to help strengthen the piece.

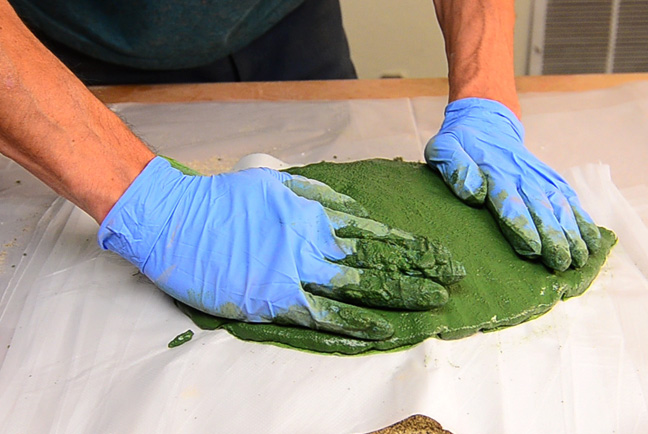
Take some time to finish the edges of the piece. It is a lot easier to shape the mix before it has cured.
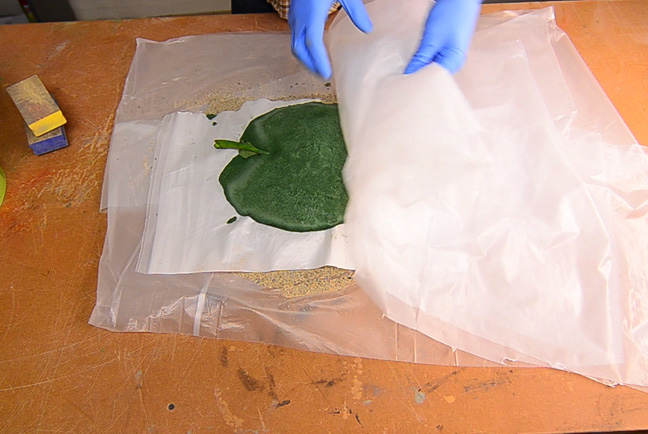
When you're finished, cover the piece with another sheet of plastic and let it cure for 24+ hours.
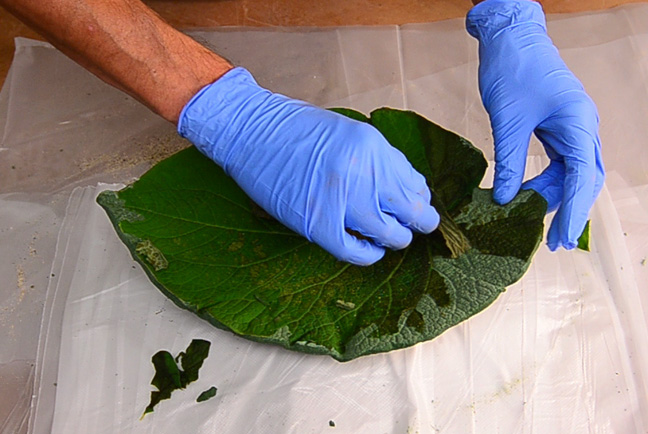
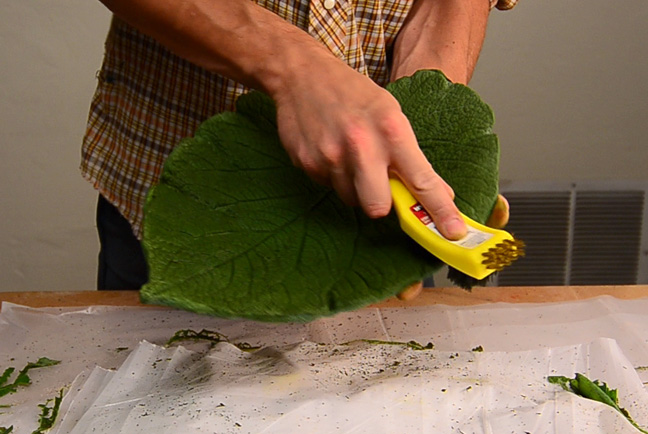
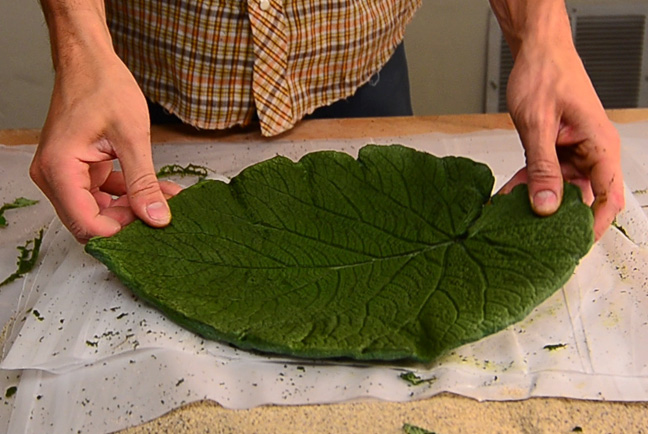
STEP 3: Remove Leaf
Removing the leaf should be relatively easy. Just peel it away in sections. Use a tool to remove the deeper bits like the veins and stem. A nylon brush will help get the rest of the leaf out without scratching the piece.
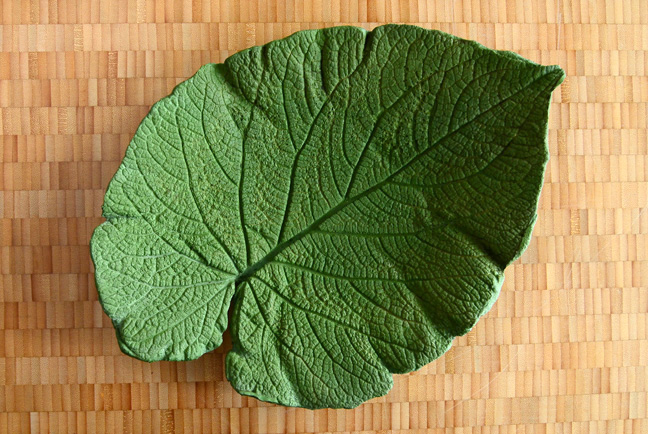
The Finished Piece:
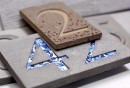
For another project that uses a similar technique, check out the 3-Up Tray:
Featured Projects